
I was looking
for window treatments for my daughter’s bedroom; it’s a window seat, so it’s
really hard to find treatments for a window like that. I knew that I wanted
something that would both let light in, and allow for enough privacy, so she
could hide, and have some alone time, read, or play with her ipad. I also, knew that
I wanted something with interest without having to go with a bold pattern
curtain, because there is a lot of color, texture, and pattern throughout the
whole room. I decided to go with a patterned cornice board, and a sheer, light,
airy curtain.
I don’t know if
you know this, but cornice boards can be quite expensive! Starting at $20.00/foot!
That was not something I could spend with my budget, and I knew that wasn’t
going to work with my penny pinching hubs! So…. in comes the DIYJ
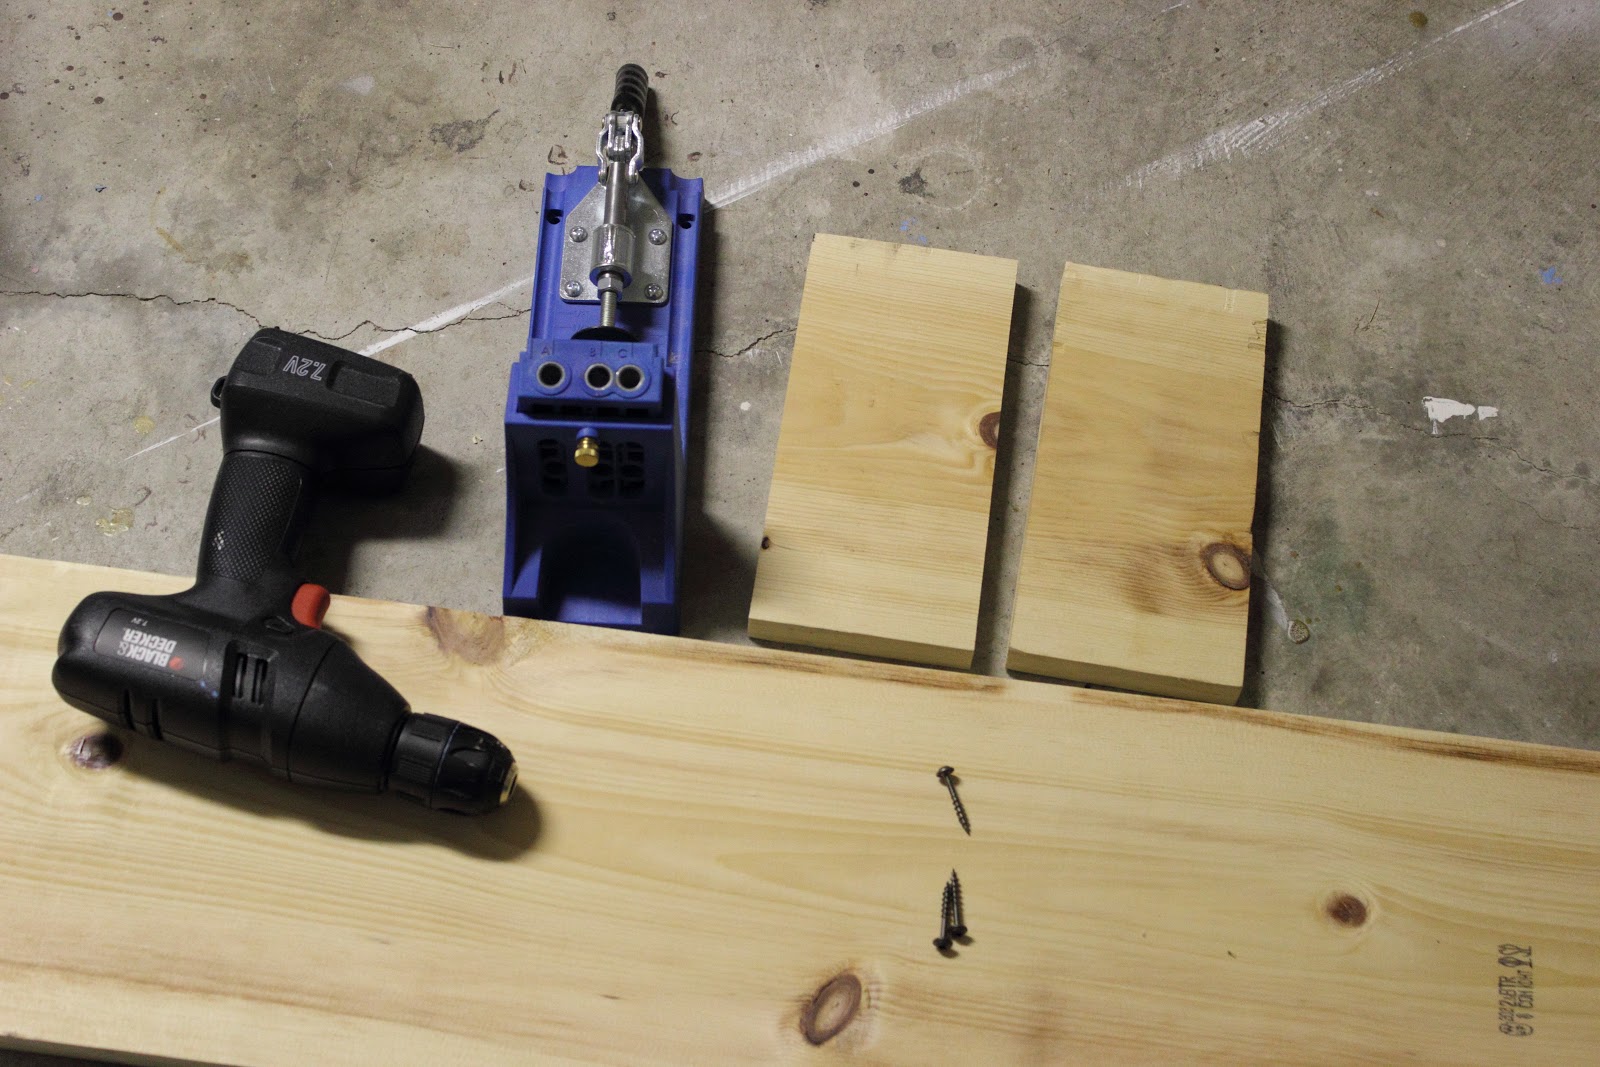
First, measure your window, and figure out
what size you would like your cornice board to be. I cut mine at 46.5 inches
long, and 4.5 inches on the sides. You will need a 1x10, (about $8.00) some
corner brackets or L brackets, (I paid like $7 bucks for 4 big ones, you will
need more if you don’t have a jig) a package of batting, (I paid $5.40 with a
40% off coupon at Hobby Lobby) and enough fabric to cover your board. I want to
emphasize enough fabric to cover your board, because my fabric wasn’t long
enough! I only got a yard, because I was intending on making pillows with the
fabric, but decided to use it for the cornice instead. So, I had to cover the
front first, then the sides, making my job just a little harder. If you are
going to make one about the size of mine than a yard and a half should do. You
could make 2 with that much fabric!

Next, using my
Kreg Jig (best thing ever) I made pocket holes for the joints, and screwed the
sides to the front board. If you don’t have a jig, you most certainly can join
the boards together with L brackets. Super simple!


I then covered,
and stapled the batting on, ironed my fabric, and stapled that on as well.


Lastly, I hung
it up, using corner brackets. Easy Peasy and it adds so much to the look of the
window. Only cost me about $15.00! My budget was happy, and so was the hubbyJ


Here is a peak
at the tree mural I hand painted! I am going to add shelves on some of the
branches! Took a little bit of time, but it’s so worth it.

Really love the nice easy instruction, trying to make two cornice board for my formal living room windows. Nice post
ReplyDeleteI've been wanting to try this for a while now. Thanks for the inspiration. :)
ReplyDeleteThanks for your article and nice photos. You've made a very beautiful Cornice Board. But I got stuck at the very last step: How did you "hung it up" with those corner brackets? There is not enough space for me to apply screws through those holes on corner brackets behind the board into the wall. I really appreciate if you can provide more detailed description.
ReplyDeleteI have found that if you attach the corner bracket to the wall first, then attach the boards you are able to get your screw drive in the secure it to the board:)
ReplyDelete