Showing posts with label Crafts. Show all posts

Friday

From old jeans to a new skirt

 
My dad is a huge Packers fan, and had about half a yard of some old Packers fabric that was previously on a chair. Of course I snatched that up, being a Packers fan myself, and decided I could make my daughter something cute to sport for the football season.
We live in TX, so there isn't a whole lot of options for Green Bay fans.
I didn't have much fabric to work with, so I had to make what little fabric I had stretch.
I found this tutorial and new that was the perfect skirt to make, and I didn't need a lot of fabric.
I gathered up an old pair of jeans and started on the project.


I also jazzed up an old white shirt with a heart, using the left over fabric I had after making the skirt, and added a tiny green bow to up the cuteness.
Also, no outfit is complete without a matching bow:)
I used a tufting button kit ($3.00) and a little bit of fabric to make a Packers button for the center.


We love the way it turned out:)


Go Pack Go!!

Thursday

First day of school and dress up closets


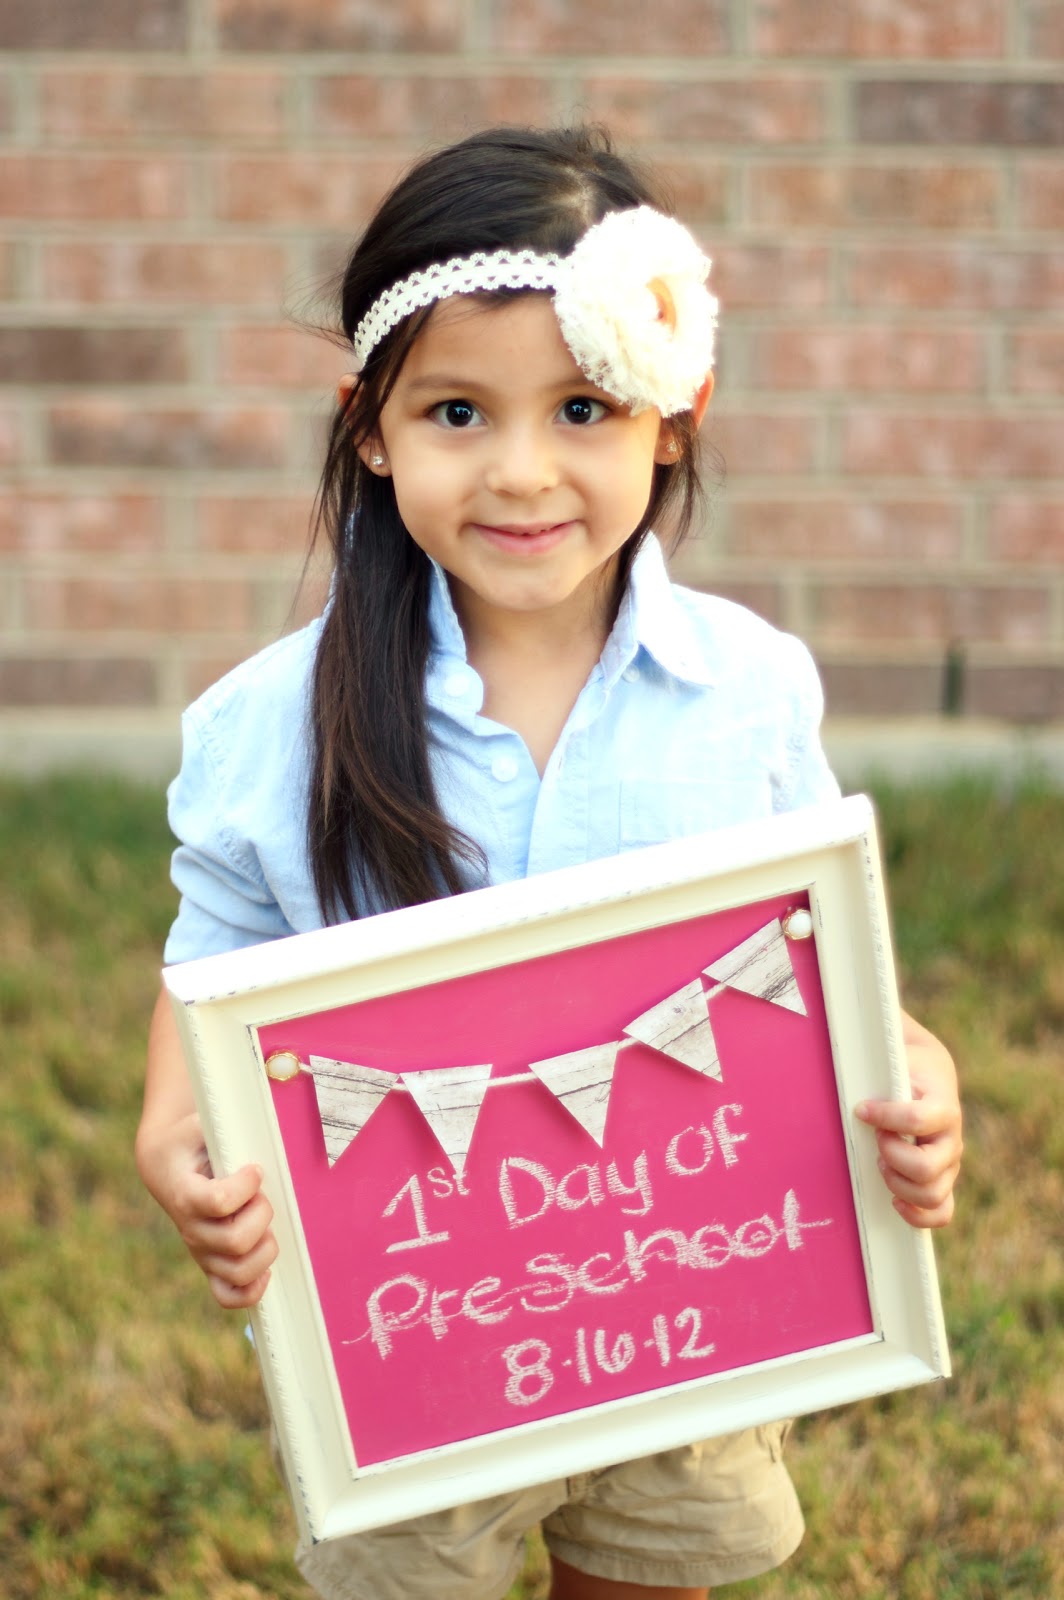
Today was my daughter, Jaelyn's (3) first day of preschool!
I seriously thought I was going to be a hot mess, but instead I was so excited for my little munchkin.
I am very blessed, I have been able to stay home with her for 3 year whole years! thanks to my hardworking, loving husband. I didn't miss anything and have been there everyday to see my little baby grow into a beautiful "big girl" (to me 3 is hardly "big", but she insist she is a "big girl"!
To me she will always be my baby:)


Changing the subject, just a little.
I made a dress up closet for my mini's playroom, and her teacher saw it and fell in love!
So she wanted me to make one for the classroom. Boy's will be using it too, so it needed to be a gender neutral color (she choose a bright blue) and have gender neutral wording on the front
 (I choose "Imagine")

please excuse the camera phone pics

Aren't they adorable!
These dress up closets are super easy to make too!!
I found this dress up closet plan
and first made the pink one for my daughter, it was a fun learning experience!
The blue one for my daughter's classroom came along a little easier cause I knew exactly what I had to do. I love the way they came out and couldn't be happier.
Ana White has a ton of amazing diy plans you HAVE to check them out:)

Have a good weekend!!

Monday

Diy nap mat

My big girl is about to start preschool in a few weeks and needed a nap mat for their daily naps at school. I wanted something cute and unique, so I turned to Pinterest to look for some tutorials.
I found this tutorial and headed to the fabric store with my mini, so she could pick out her own fabric.

I tweaked the pattern just a tiny bit using two different fabrics instead of one. Also, I used a "satiny' material for the inside of the blanket instead of double minky. Instead of ribbon for the handle, I used extra fabric to make a strap and added a ruffle to up the cuteness:)


It's easy to roll up and has an attached pillow and blanket, it also has Velcro along the side to remove the foam for easy washing. I love it and so does my daughter! she will have the most stylish nap mat in her class:)


Tuesday

Diy upholstered ottoman

I found this ottoman coffee table that I just fell in love with, but of course it was WAY over my budget. At $280.00 there was no way the frugal hubs was going to let me get that, even if it was from Target.
So, I decided to try my hand at making my own. My family room was lacking a coffee table, and with a clumsy three year old running around we needed something plush to avoid too many "ouchies".

So here it is!!
My gorgeous new coffee table ottoman:)

Tutorial coming soon.....

Wednesday

Button Storage

I cleaned out my pantry the other day and wanted to get it all organized like the numerous pics I have seen on Pinterest.

So I took everything out, cleaned and organized using baskets and plastic containers from the dollar store.

Well, I found this really old spice rack thing in the back of the closet. It was all dusty and had clumped together spices in it!

I was not about to use that thing! So I figured out a way to reuse it in my craft room:)
As an organizer for my buttons!! it spins too making it extra awesome!!

I cleaned it off, sanded it a little bit so the paint would stick and cleaned out the glass containers.
Using my circle hole punch and some mod podge I made little circles to cover a majority of the lids. you could also spray paint them with paint or even chalk board paint! or just make new labels for them with your printer and sticker paper. I choose to just go with paper in a different color to match my craft room, but whatever floats your boat;)


I love the way it turned out! It's super functional and will look great just sitting on my craft table:)

Saturday

Birdy Houses

Hope everyone had a wonderful Thanksgiving! I ate and ate and ate until I couldn't eat anymore and it was AMAZING:)

I found these cute little bird houses at Michael's in the dollar section and just had to have them. I figured I could just put them in my craft room for a little fun and quirky touch.


I just found some coordinating scrapbook paper in the colors of my craft room. Don't be scared to pick different colors and patterns just find one that has all the colors in it in a daring pattern (like the paisley print I found) and pull colors from that. Using different patterns will give it more personality. Just keep the pattern different sizes to keep it from looking too busy. The paisley is a large pattern, the stripes a medium and the green polka dot a small size. Get it? and this works for anytime you want to coordinate, for instance pillow fabric:)


Cut the paper to size


Make a hole using a hole punch for the little bird pirch thingy:)


Dry fit and trace your thumb around the bigger hole to make an imprint.


 Punch a hole in the imprint so you can begin cutting the circle out.


Cover with Mod Podge


Place the paper on and paint some more Mod Podge on and let it dry.


Continue on all sides and decorate as you like.


Aren't they darling??!!

Mine will just sit on a shelf in my craft room, but these would look so cute in a baby's room hanging from the ceiling like a mobile (just make sure to hang far enough from the crib that if they fall they won't fall on baby)
Or you could hang like 10 or 15 of them on a wall like a collage (how awesome would that be!)
They could even be good decorations for a baby shower, birthday party or even dressed up elegantly for a wedding:) The possibilities are endless. If you make one send me a pic! I'd love to see how they turn out.

Wednesday

Button tacks

I finally got around to working on my craft room:) yay!! I have been making lots of boards and buying stuff and getting rid of stuff because I couldn't make up my mind on exactly what I wanted to do. Well finally I have made up my mind!! and am for sure sticking with this plan because I am in love with it:)

I am using fun and girly colors like pinks and aquas! using mainly furniture I got off craigslist and doing lots of diy projects and crafts.

Here is the plan I finally settled down with

The desk is one I had just painted a pretty aqua color now:)
I found an armoire off craigslist for only $60.00!! and it's HUGE! perfect for storing all my yarn along with other stuff.
I also got a craft table just like the one pictured off craigslist for $15.00 its a great size all it needs is a little bit of love.
The shelves, side table and adorable pink chairs are all from Ikea (love that place)
The rug I haven't found yet, but I think I am actually going to make that a DIY project by crocheting one for myself. I found a picture on Pinterest and fell in love. I am challenging myself to make it by the end of the year! (wish me luck)


Wouldn't that be pretty in creams, greens and pinks! ahhh <3


So, I tackled my first project tonight. A fabric covered cork board for above my sewing table.


 Just bought a plain framed cork board at Hobby Lobby for $20.00 (it was half off)
Then unscrewed the back, covered it with coordinating fabric (using spray adhesive) and re attached the back and frame. It was much better, but still lacking some personality and decided it needed some cute tacks:)
I got some vintage inspired buttons (in a bag and also from Hob Lob)


Snipped off the back little button hook thingy and hot glued a thumbtack to it.


 Do as many as you want and let it dry.


Voila instant charm:)


I just love the way they came out.
Enjoy!

I also want to wish everyone a very Happy Thanksgiving:)

Friday

Coupon Cart Caddy

Pin It

I started couponing a few months ago to save money so that we can work on redecorating and remodeling our home. I do have to say it is time consuming but totally worth it! I have saved a lot just by clipping coupons and buying only items that are on sale. I always save at least 50-90% on all my grocery bills now:). When it comes to using coupons it is really important to stay 100% organized (which I generally am not) so I have a binder I keep all my coupons in. They are all organized in different categories making it super easy for me to just flip to the coupon I need. Now I love anything that keeps me organized so needless to say I was so excited when I came across this Cute Cart Caddy I just had to try it out.


Tuesday

Craigslist find

I was looking for a computer armoire for our family room re do that would house our home computer, xbox, ps3, and printer. I was ecstatic when I came across a piece on Craigslist for just $75.00 and it was exactly what I was looking for:) I <3 Craiglist!!
It has lots of room for everything and even my 2 year old enjoys hiding in it:)
It came with an unexpected bonus! 2 cork board pieces on the inside of each door.

They were in good condition and I love the functionality of having cork board right next to where you sit. I'm going to be painting the computer armoire a creamy white to match my kitchen cabinets (which I will be painting soon also so keep an eye out for that post). I had some extra fabric left over from the pillows I made for the room so I decided to use that to take the cork board up a notch:)


I cut the fabric to size (make sure you leave enough hang on all sides to wrap around so there's no edge showing) and using a spray adhesive I sprayed the cork board and covered the board in the fabric. Caution: Do this outside because spray adhesive stinks and can get everything super sticky!!

Then simply hot glue all sides down on back to create a nice edge all around.

There you have it! It looks much better and now coordinates with the room and its a super easy diy project to dress up that boring cork board and you could even add nail head trim or ribbon:)

Monday

Dyeing curtains

Found some gorgeous curtain panels from World Market for my family room re-do but at $26.00/panel and me being on a tight budget they were far out of my reach.
I looked everywhere else I could think of to find a cheaper version but had no luck at all. I already had some tan linen curtains I had bought at Target a while back at $9.99 for 2 panels. So I decided I would just dye them myself! I have never worked with dye on such a big project so I was a little apprehensive but I am so glad I did:)
Equipt with some Rit dye in teal and my washing machine I very carefully followed the directions on the back (sorry I didn't take pictures of the process, I was too scared of making a big ole mess) and transformed my blah beige curtains into exactly what I wanted!

There was no color variation at all so I am very pleased with how easy and incredible these curatins came out. :)

Thursday

I will never buy another accent pillow again!!

Why? because they are super duper easy to make and a shmashmillion times cheaper than buying em retail. I should start off by saying I am very new to sewing! My good ole pops bought me a sewing machine a few Christmas' ago and it kind of just sat around until I got the courage to try it out. I never used a sewing machine before except for a one time project, a very long time ago in my home ec class. I googled how to thread it (easy peasy) then practiced sewing my little heart out! I still don't really know how to do anything more than a straight stitch, nor do I know all the ins and outs of my sewing maching, but I sure can sew a mean straight line:)

Anyways, as ya'll know I am redecorating my family room and was in need of accent pillows for my new sectional and chair. Retail pillows are so expensive (especially the ones I like) so I decided to take on the daunting task of making my very own (with zipper closures).

Ambitious? I know!! I wanted to practice first so I picked up some cheap cloth napkins from Target for only 9.99 for a set of 4 (that's 2 pillows).
They are 19x19 which were the perfect size to make a 18x18 pillow cover.
Use a 20x20 pillow insert for 18x18 covers so they are nice and full and won't slouch over time.

Start with right sides facing eachother.

Then measure 2 inches in on both sides (this will create your opening for the zipper).

Sew across to 2 inch marking on both sides creating your opening.

Then open up, press and pin folding the opening to create a hem for the opening.


Sew down the opening.

When you flip it over it will look like the above photo. You have just created you opening for the zipper.

I used an all purpose zipper from Walmart, but you can get them at any craft store.

Now, you are going to mark about half way from the top to the opening on both sides (this is where you will sew your zipper ends).


Again about half way between the top of the napkin hem and the opening you have just created.

Cut to size.

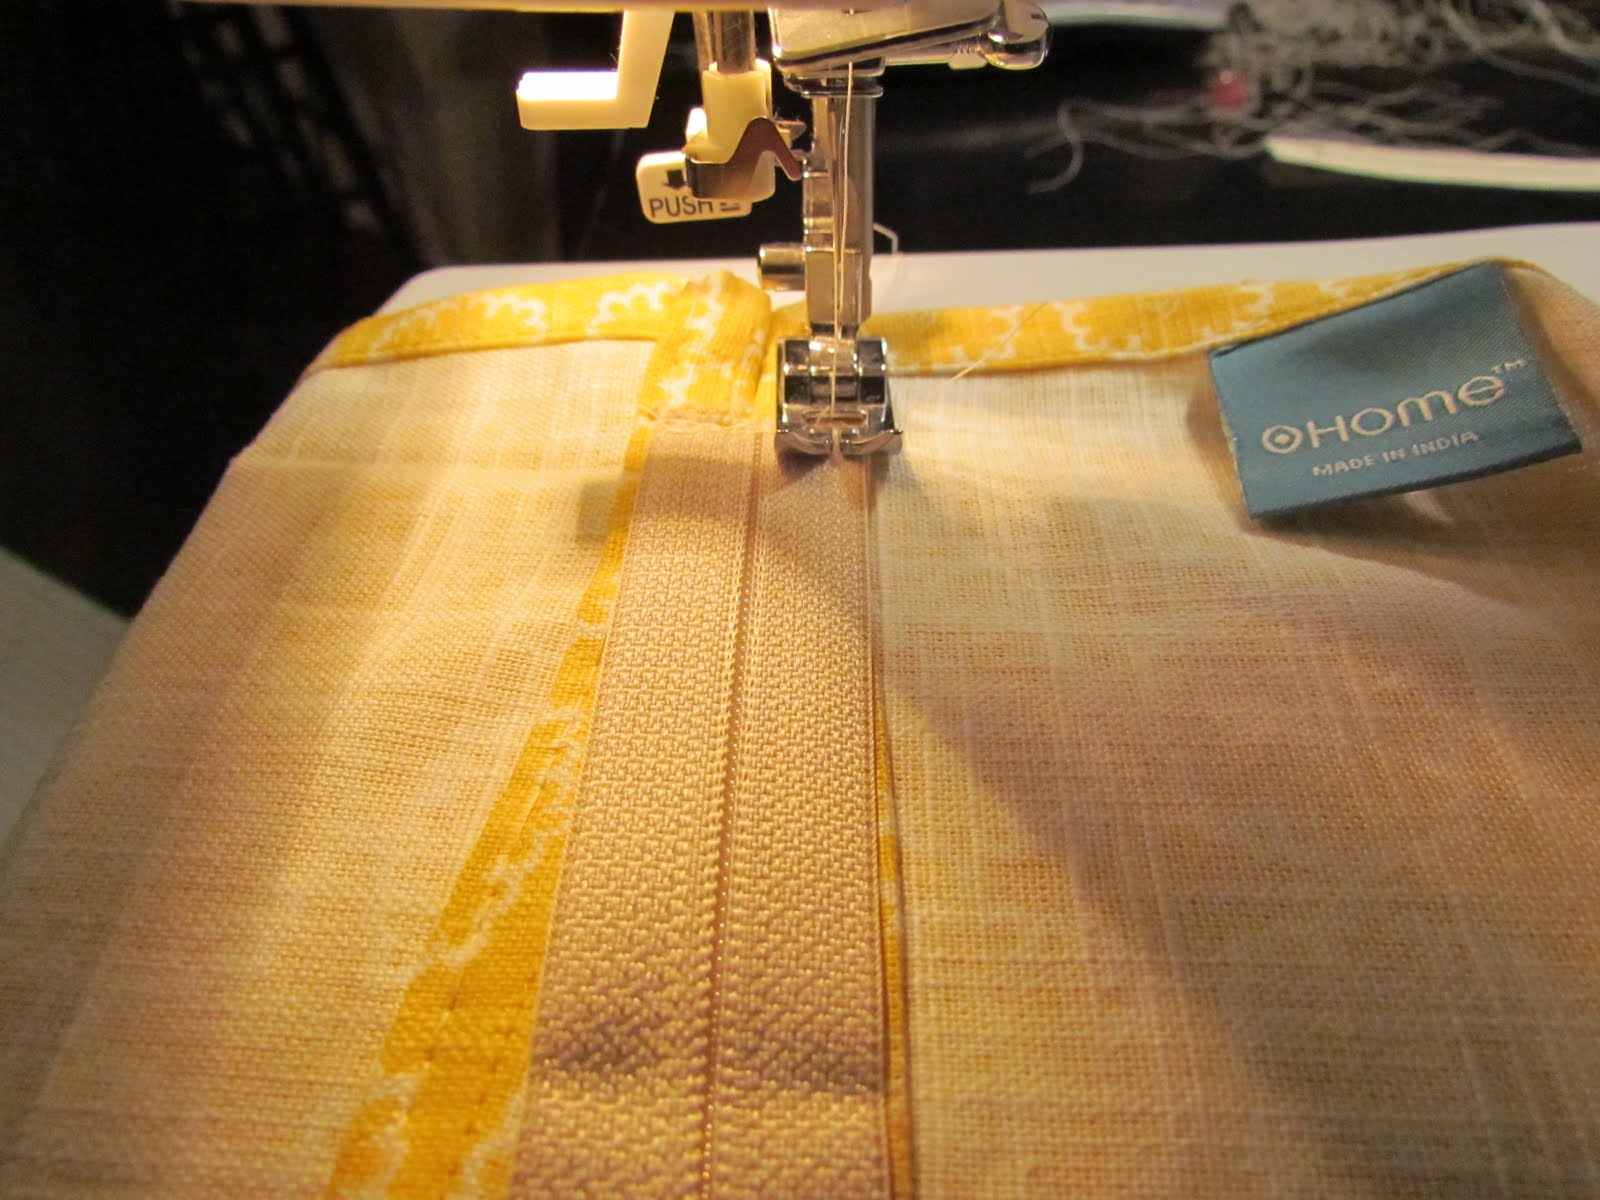
Start by sewing the zipper down on end side of zipper (make sure the slider on the zipper is facing down)

Follow the hem line sewing the zipper all the way down and repeat on other side and at other end

The above photo shows what the zipper should look when all sewed in (notice the slider facing down)

Keeping the zipper opened (so you can flip to the right side when done) and right sides facing eachother sew the remaining 3 sides together following the napkin hem as your 1/2" hem. Flip to the rightside, insert your pillow form and enjoy your new made with love pillow:)


I will create a video soon when I make my new pillows for my brand new sectional and chair:)
In the mean time don't hesitate to ask questions.